Peach Raspberry Jam
This post may contain affiliate links. As an Amazon associate, I earn a commission from qualifying purchases.
This peach raspberry jam recipe combines sweet summer peaches and fresh raspberries with a little bit of ground ginger and transforms them into a sweet summer jam. It can be water-bath processed, frozen, or stored in the refrigerator.
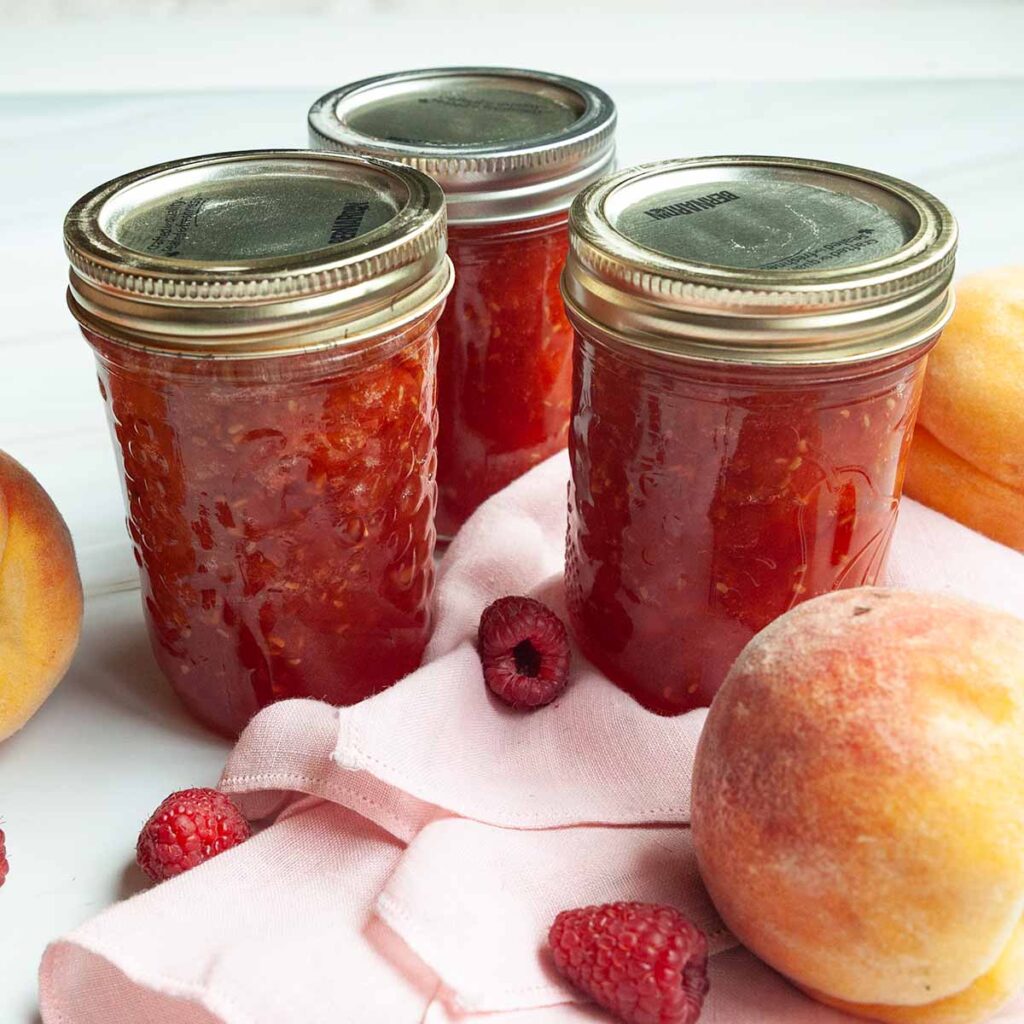
Recipe at a Glance: Peach Raspberry Jam
- Details
- Preservation method: Water bath canning
- Storage: In sealed jars at room temperature; refrigerator after opening.
- Storage life: Up to 1 year after canning and up to 4 weeks in the refrigerator after opening.
- uses for Peach raspberry JAM
- Spread it on toast, scones, or English muffins for a sweet morning treat.
- Use it as a filling for thumbprint cookies.
- Stir it into Greek yogurt, then top with fresh berries and granola to create an easy parfait.
- Stir it into overnight oats and top with fresh peaches and raspberries.
Peaches are my favorite summer fruit, and we devour as many as we can during their peak season. I always buy extra, just to make this jam and stash it away in the cellar, so I can enjoy a little bite of summer on my morning toast mid-winter. Although blueberry vanilla jam remains my favorite, this peach and raspberry spread is a close second.
Ingredients & Substitutions
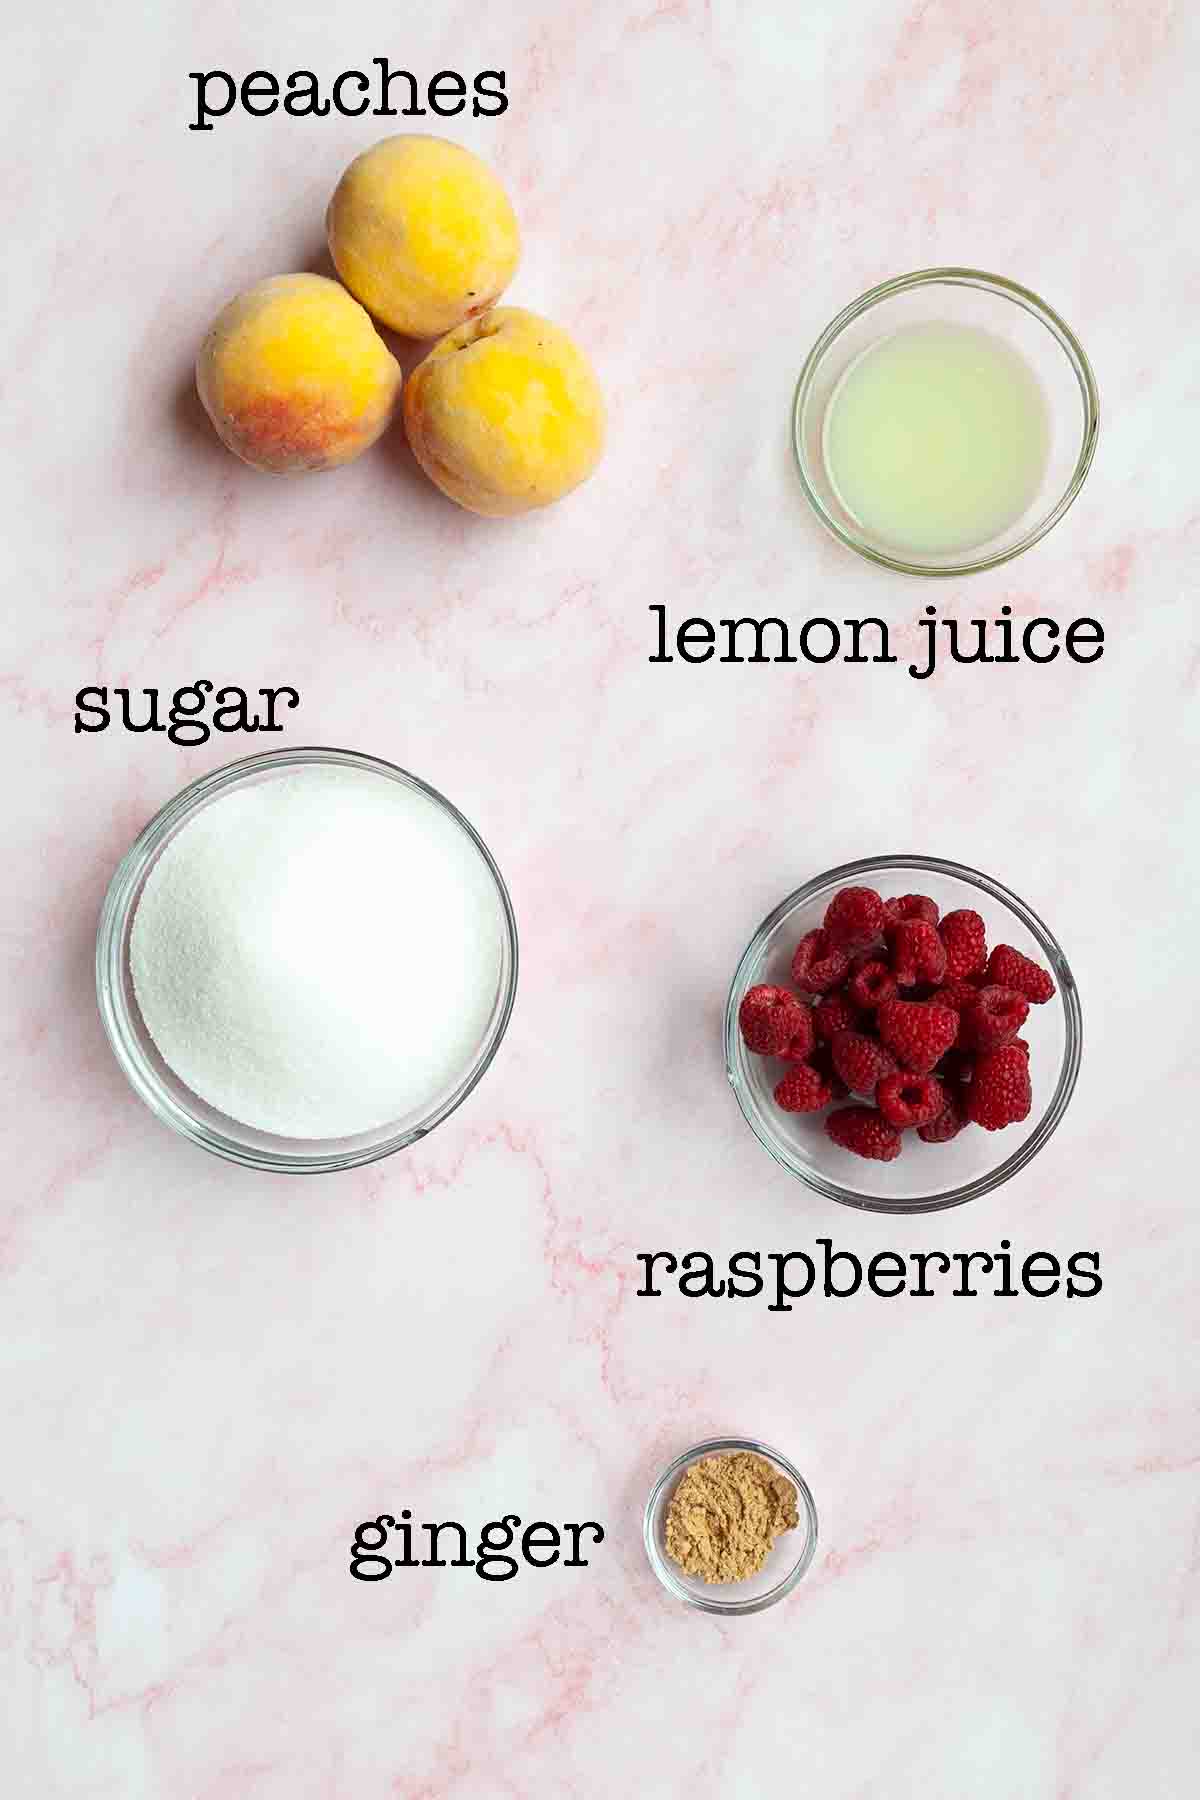
- Peaches–Choose ripe fruit that gives slightly when squeezed. Avoid fruit that is overripe or mushy. Cut away any bruises or blemishes before making the jam.
- Ground ginger–This adds subtle spice to the jam. If you don’t like the flavor of ginger, you can omit it.
- Lemon juice–The lemon provides the pectin and acidity necessary for the jam to set and shouldn’t be skipped. I recommend using bottled lemon juice to deliver consistent acidity.
How to Make Peach Jam
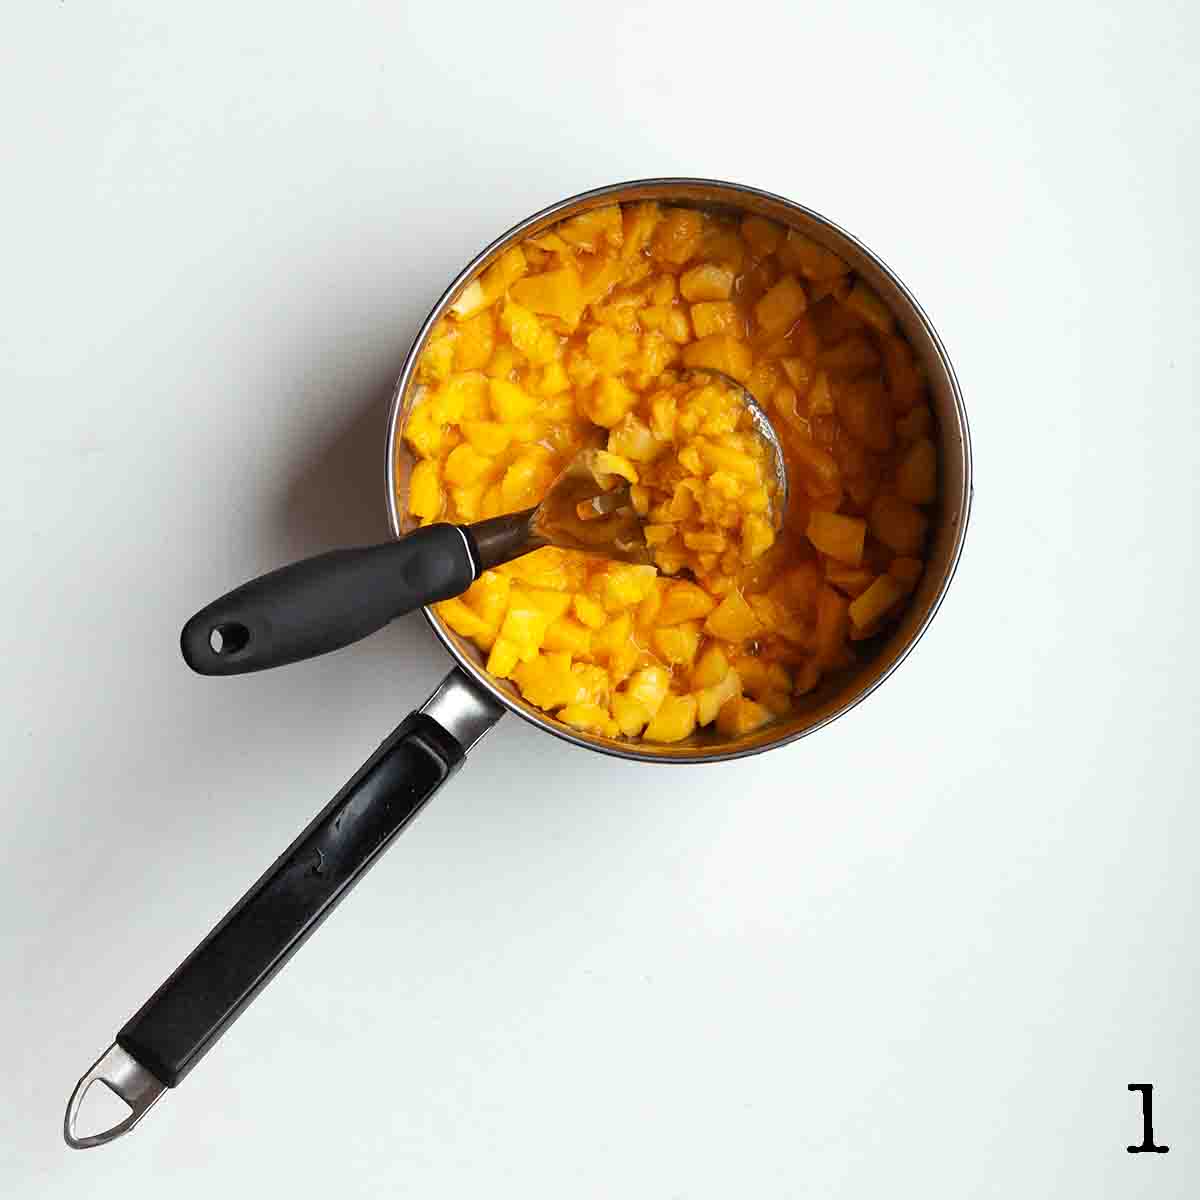
1. Mash the peaches in a large pot.
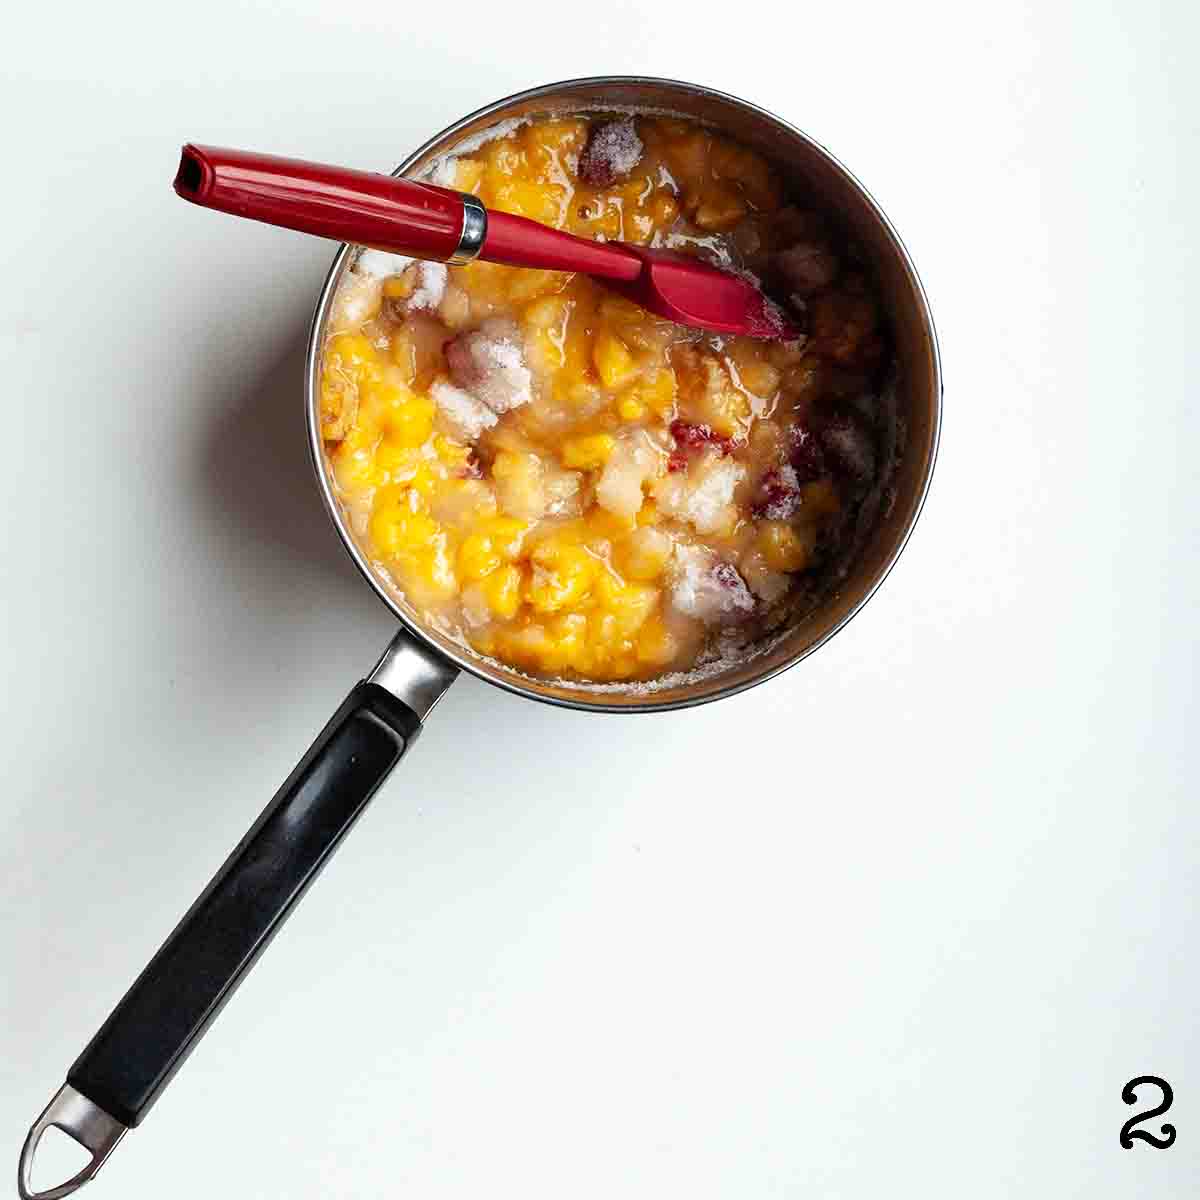
2. Stir in the raspberries, sugar, lemon juice, and ginger.
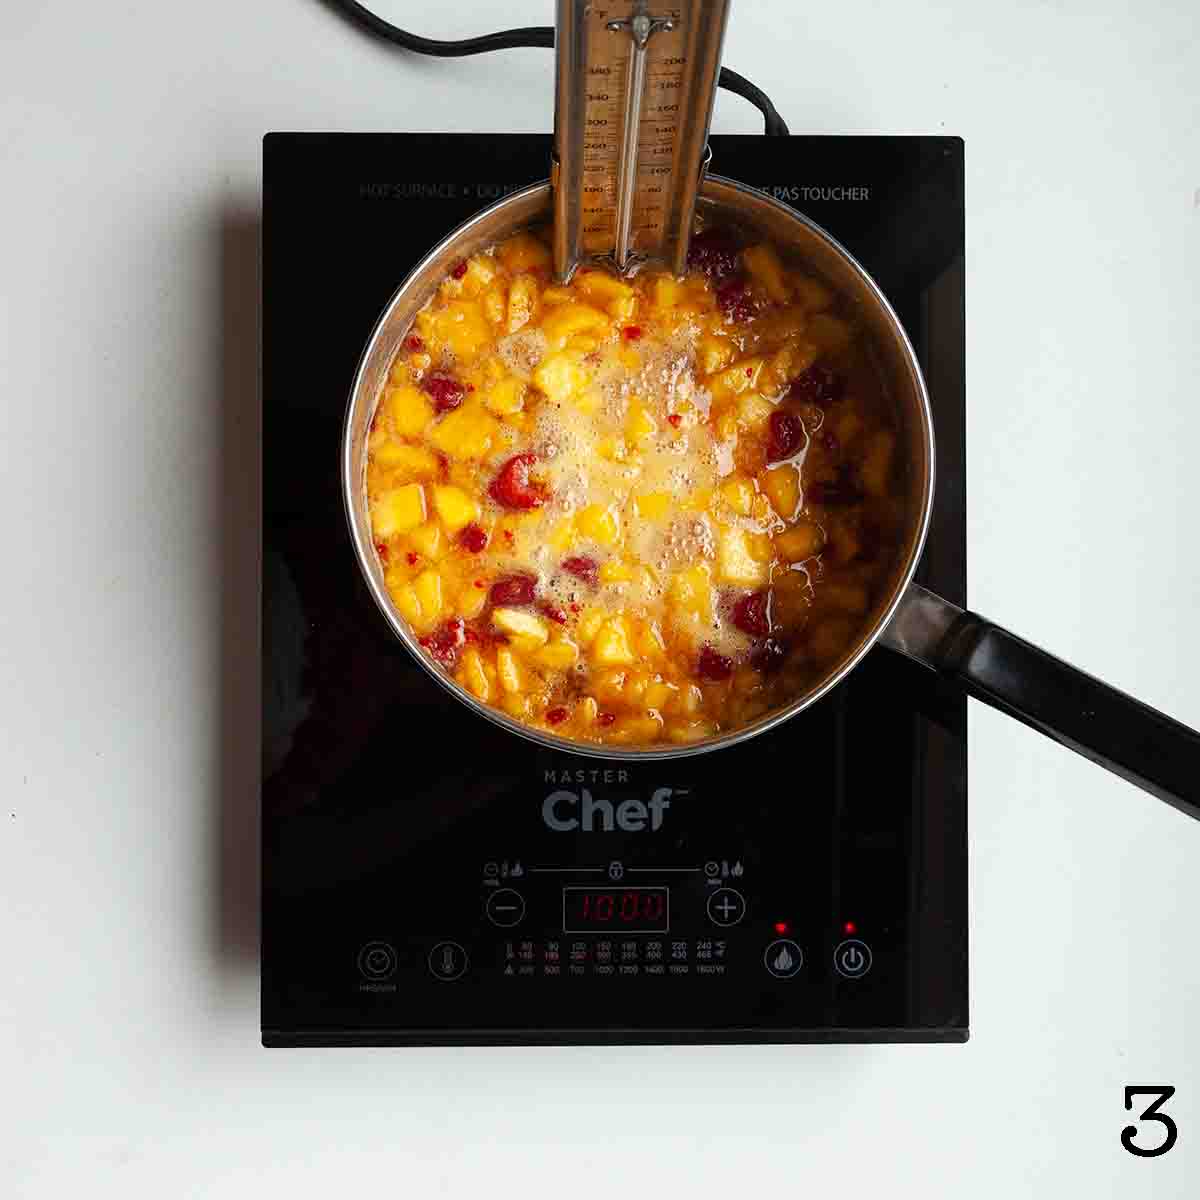
3. Bring to a boil and cook until the jam thickens and reaches 220°F (104°C). Test for set using the cold plate method, if desired.
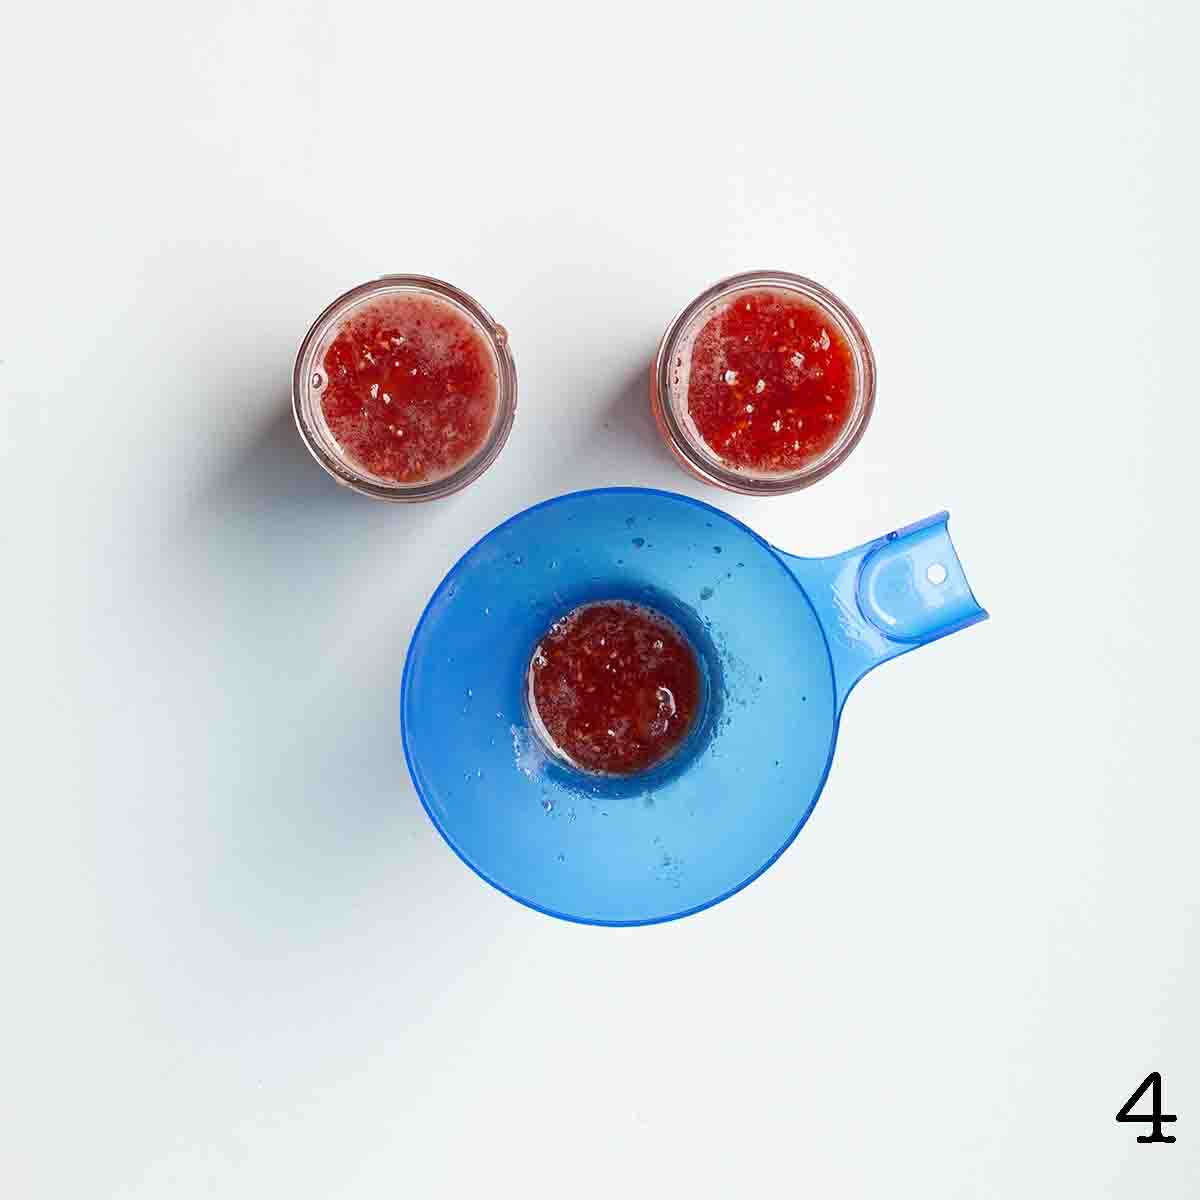
4. Ladle into sanitized jars, seal, and process in a hot water bath for 10 minutes, adjusting for altitude.
FAQs
Yes. Let the peaches thaw enough for you to be able to mash them, then proceed with the recipe. The raspberries do not need to defrost. The cooking time may be slightly longer.
Sure. After cooking the jam and testing for set, ladle it into jars, leaving 1/2 inch (12 mm) of headspace at the top of the jar. Seal with a lid and refrigerate for up to 4 weeks or freeze for up to 1 year.
To easily peel your peaches for making jam, cut a small X in the bottom of each peach using a sharp knife. Working with 4 or 5 peaches at a time, add them to a pot of boiling water and let them boil for about 30 seconds (if the fruit is not quite ripe, it may need an extra 30 seconds). Use a slotted spoon to transfer them to a bowl of ice water to quickly cool them. Remove them from the water and pat dry. You should be able to peel the skin away easily, starting from the X.
Ways to Use Peach Melba Jam
Enjoy your homemade jam many different ways, including the ones below. Got any suggestions for great uses? Drop a comment below.
- Use it as a spread for toast, scones, or biscuits.
- Dollop it into the center of thumbprint cookies or use it in as a layer in oat and jam bars.
- Use it as a filling or glaze in a cake or swirl it into cheesecake.
- Stir it into overnight oats, then top with fresh peaches and raspberries
- Stir it into Greek yogurt, then top with fresh berries and granola to create an easy parfait.
Storage
Store your jam in a cool, dark place for up to 1 year. After opening, keep your jam in the fridge and use within 4 weeks.
Tips & Troubleshooting
- The peaches will not fully break down during the cooking and canning process, so be sure to mash them to the consistency you want. If you don’t want any chunks of peaches in your jam, mash it until it’s mostly smooth.
- Use a candy thermometer or the cold plate test to determine when your jam is set. If you’re using a thermometer, you’re aiming for a temperature of 220°F (104°C). If you are at elevation, subtract 2°F for every 1000 feet above sea level.
- Adjust for elevation by adding 5 minutes of processing time for every 3000 feet above sea level.
- This recipe is suitable for gluten-free, dairy-free, and vegan diets.
Peach Raspberry Jam

Equipment
- Water bath canner if processing
- 4 to 5 half-pint canning jars with lids and bands
Ingredients
- 4 cups peeled and chopped peaches (about 6 medium peaches)
- 3 cups granulated sugar (600 g)
- 1 cup fresh raspberries
- ¼ cup lemon juice
- 1 teaspoon ground ginger
Instructions
- Sanitize 5 half-pint jars. Prepare your canner according to manufacturer's instructions. Place a small plate in the freezer.
- Place the chopped peaches in a large pot. Mash until they are mostly smooth. The peaches won't fully break down during cooking, so be sure to mash them as smooth as you'd like your jam.
- Stir in the sugar, raspberries, lemon juice, and ginger.
- Bring to a boil over high heat, then reduce heat to maintain a steady simmer. Cook until the jam is thick and the temperature reaches 220°F (104°C), adjusting for altitude if needed (see note below), about 25 minutes. Check for set using the cold plate test.
- Ladle the jam into the jars, leaving ½-inch (12-mm) headspace. Wipe the rims clean, top with lids, then screw the bands on until fingertip tight.
- Process the jam in a boiling water bath for 10 minutes, adjusting for elevation if needed.
- Remove from the canner and cool at room temperature for 24 hours before moving to a cool, dark location for up to 1 year. Once opened, refrigerate and use within 4 weeks.
Notes
- How many jars?–I find that this recipe almost always makes more than 4 jars but less than 5. I process and store 4 of them and stash the partial jar in the fridge to enjoy immediately.
- Adjust for elevation–Use a candy thermometer or the cold plate test to determine when your jam is set. If you’re using a thermometer, you’re aiming for a temperature of 220°F (104°C). If you are at elevation, subtract 2°F for every 1000 feet above sea level. Adjust the water bath processing time for elevation by adding 5 minutes for every 3000 feet above sea level. (For 1000 to 3000 feet, add 5 minutes, 3001-6000, add 10 minutes, and so on).
- Dietary–This recipe is suitable for gluten-free, dairy-free, and vegan diets.