Pickled Yellow Beans
This post may contain affiliate links. As an Amazon associate, I earn a commission from qualifying purchases.
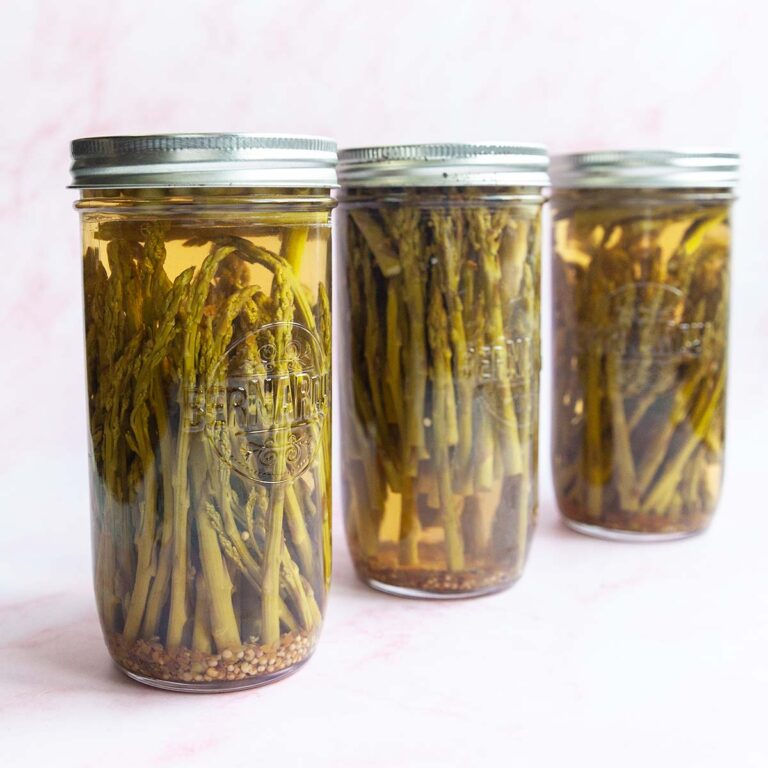
This pickled yellow beans recipe is an easy home canning method for preserving yellow or wax beans. In as little as 30 minutes, you can have a stash of pickled beans ready to enjoy all year long.
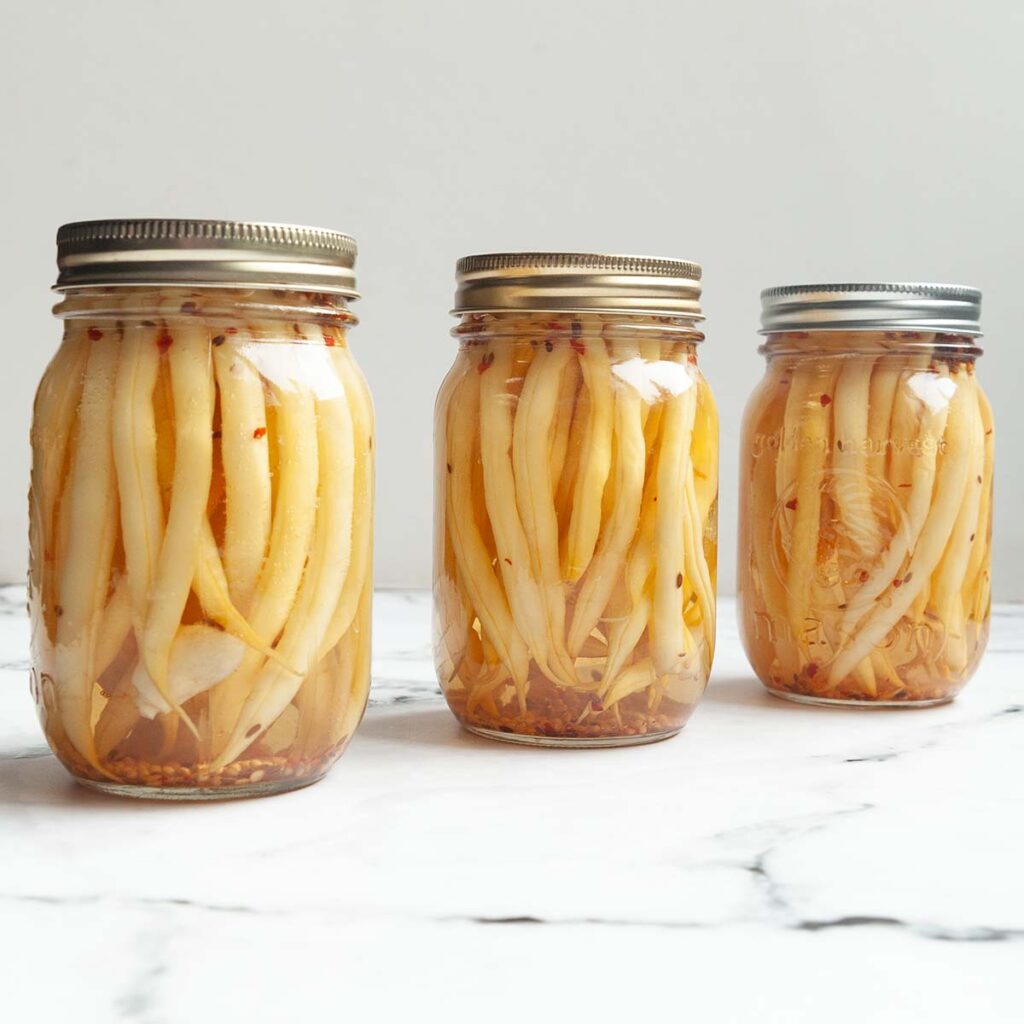
Recipe at a Glance: Pickled Wax Beans
- Details
- Preservation method: Water bath canning
- Storage: In sealed jars at room temperature; refrigerator after opening.
- Storage life: Up to 1 year after canning and up to 3 weeks in the refrigerator after opening.
- uses for pickled Beans
- Use it as a garnish for a Bloody Mary or Caesar cocktail.
- Add it to charcuterie platters with meat, cheese, olives, and crackers.
- Add them to salads for flavor and crunch.
- Snack on it straight from the jar.
Dilly beans get a lot of love, but there are so many other great beans that can be pickled and stashed away for a mid-winter snack. Take these yellow beans for example. They’re crisp, snappy, and perfect for soaking up a spicy brine. This recipe makes a pretty spicy pickle, so feel free to adjust the amount of pepper flakes to suit your taste.
Ingredients & Substitutions
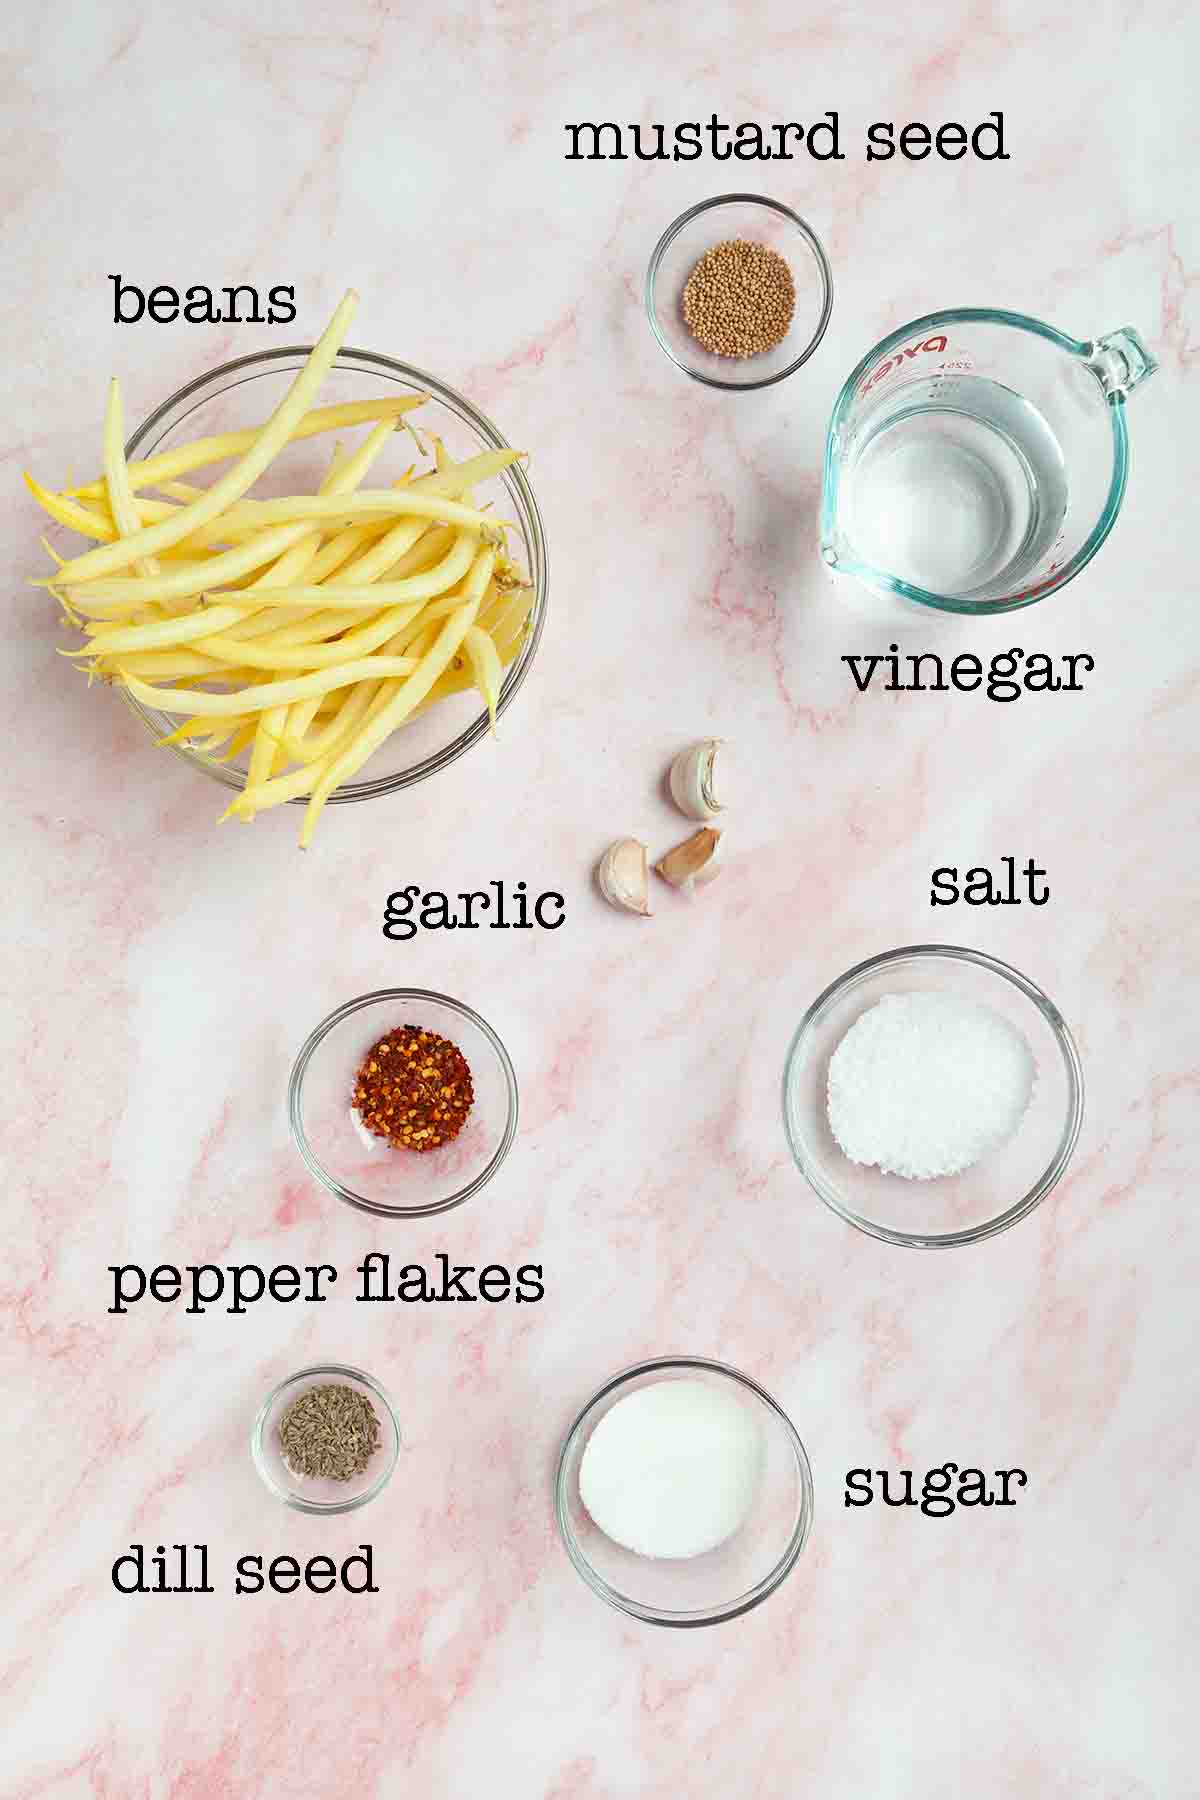
- Beans–Use yellow beans that are firm and choose beans that are as straight as possible. This will allow you to fit more in the jar. Toss any beans that are limp or have soft sections. Remove the top of the bean (where it connects to the plant) by snapping off the end before canning.
- Pickling salt–I recommend using pickling salt for canning to prevent your pickling liquid from becoming cloudy. You can use kosher salt, but check the label to make sure it doesn’t contain any anti-caking agents.
- Pepper flakes–This recipe makes for a pretty spicy pickle but you can control the heat level in your pickles with the amount of pepper flakes. If you’re sensitive to heat, only add 1/4 teaspoon, and if you want it extra spicy, add 3/4 teaspoon, or toss a fresh or dried whole chili pepper into each jar along with the pepper flakes.
How to Make Pickled Yellow Beans
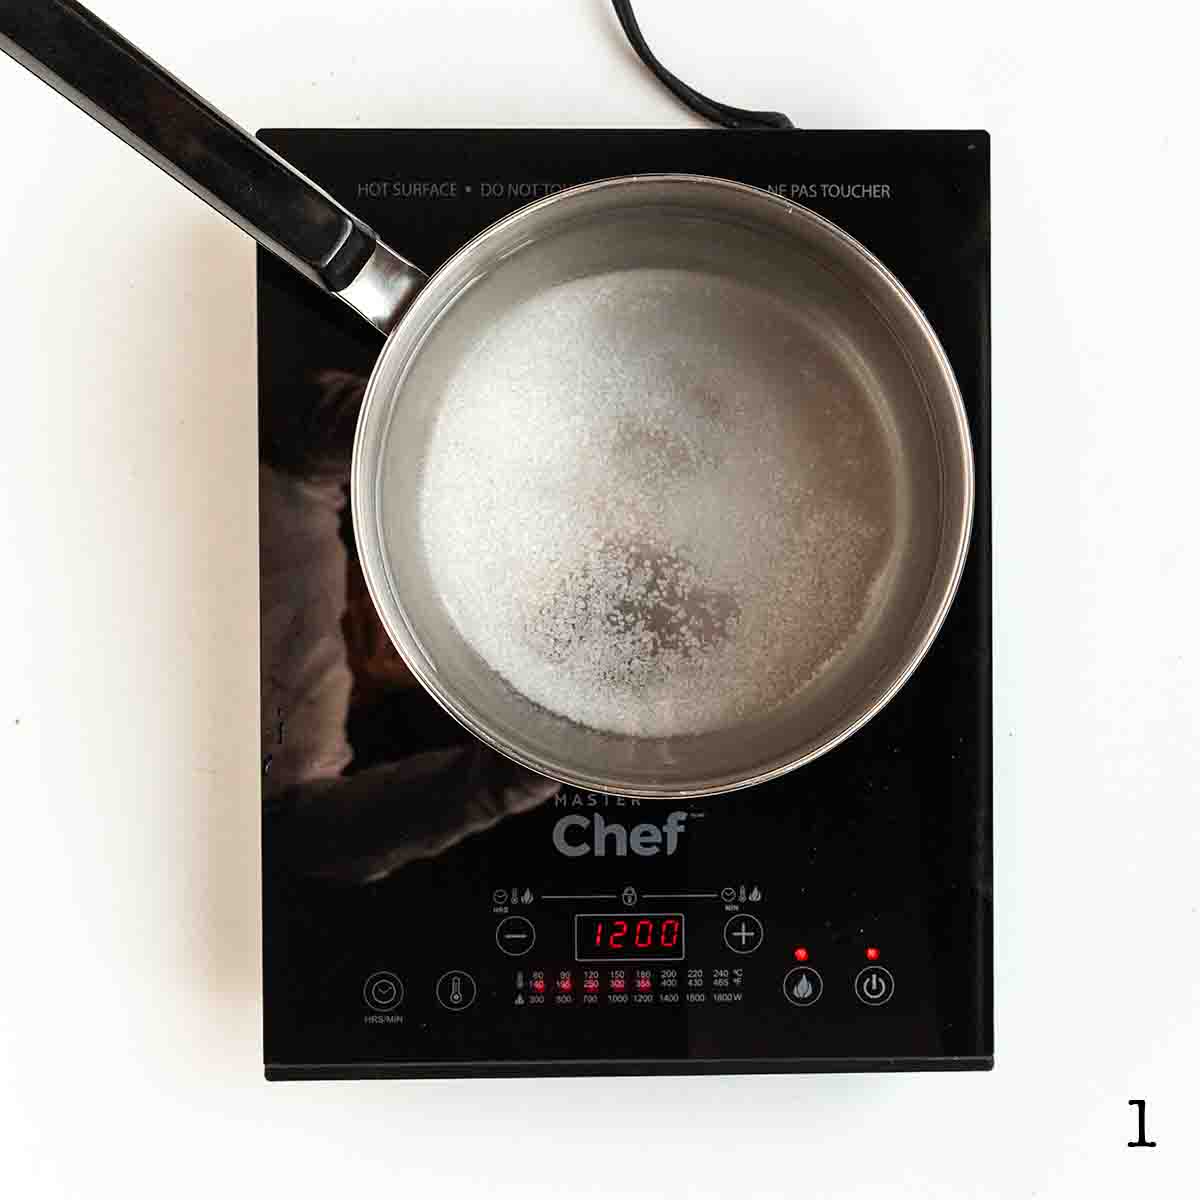
1. Combine the vinegar, water, salt, and sugar in a large saucepan and bring to a boil.
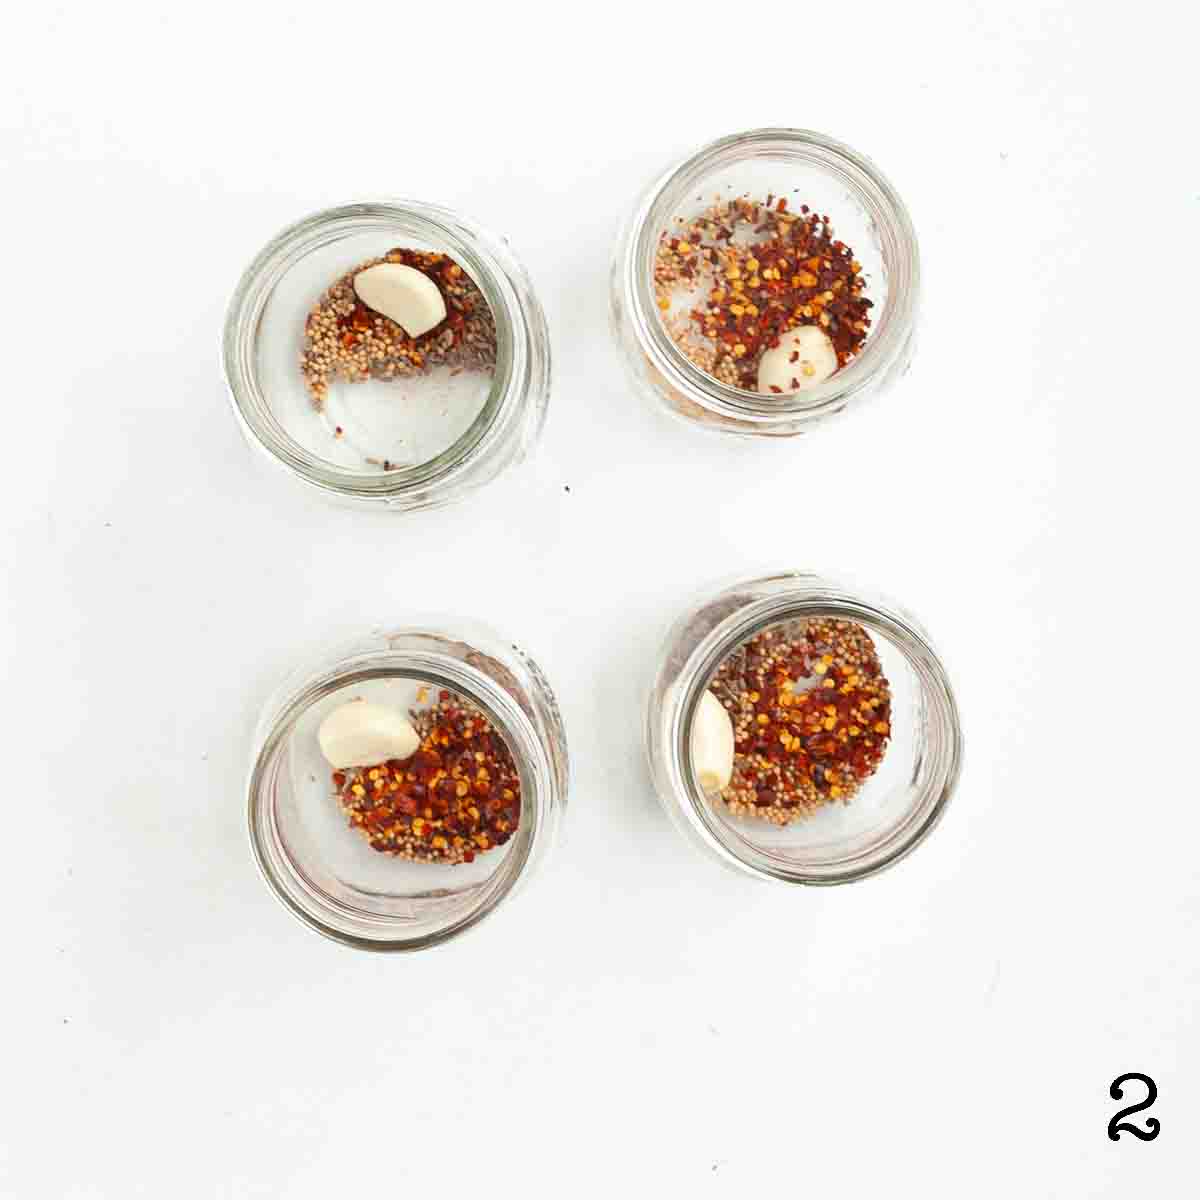
2. Divide the pepper flakes, dill seed, mustard seed, and garlic among the jars.
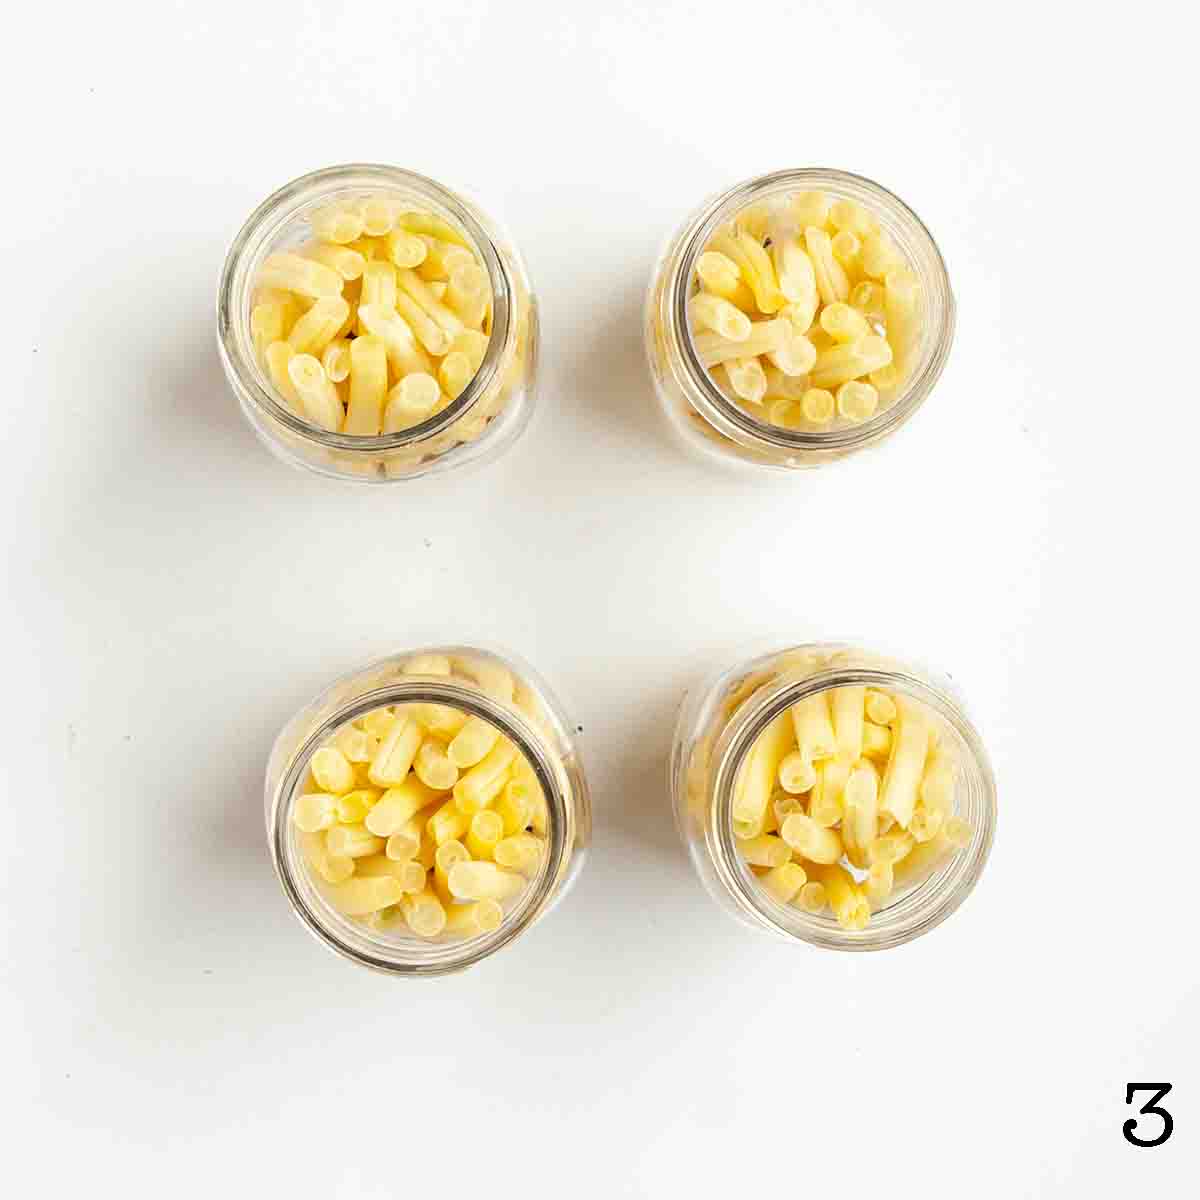
3. Fill each jar with beans.
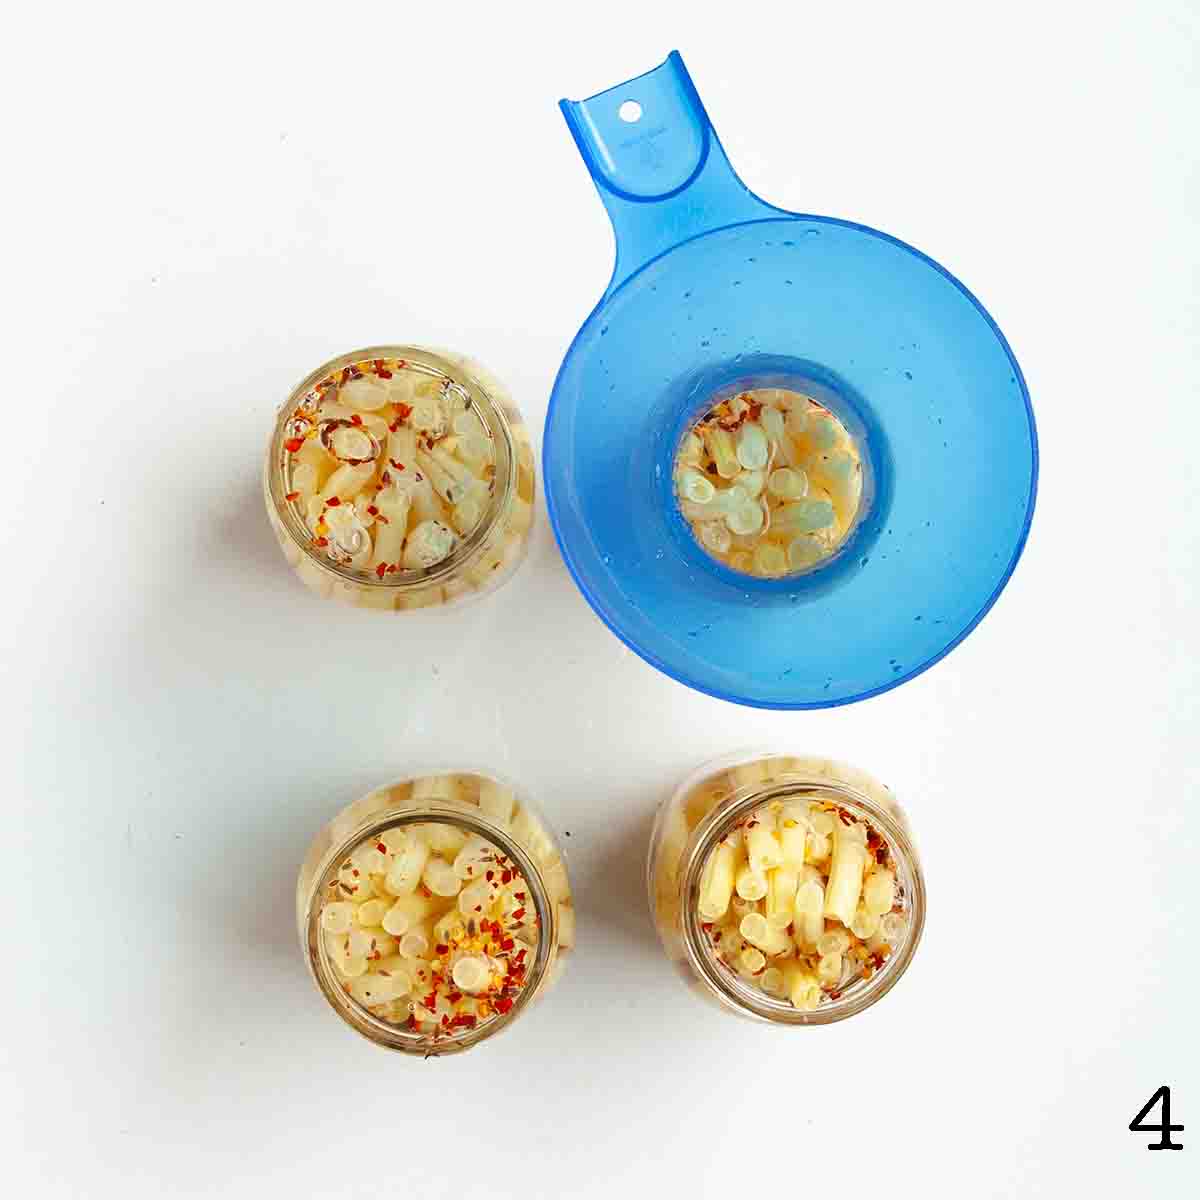
4. Pour the brine over the beans, leaving 1/2-inch of headspace. Seal and process in a hot water bath for 10 minutes, adjusting for elevation.
FAQs
No. The hot brine is all that’s needed to preserve the beans. Blanching it may result in overcooked and mushy beans so I recommend pickling it raw.
No. You can pour the brine into the jars with the beans, seal with a lid and store in the fridge. Let the pickles sit for 1 to 2 weeks before opening, then use them within 3 weeks.
Ways to Use Pickled Yellow Beans
Munching on these pickled wax beans directly from the jar is my favorite way to enjoy these pickles, but here are a few other great ideas:
- Use them as a garnish for a Bloody Mary or Caesar cocktail.
- Add them to a charcuterie platter with sliced cured meat, olives, cheese, and crackers.
- Chop them up and add them to salads for flavor and crunch.
Storage
If you water bath can your pickles, they will be preserved indefinitely, but I recommend using it within 1 year for the best quality. Once open, store your pickles in the fridge for up to 3 weeks. Ensure they stay submerged in the brine.
Tips & Troubleshooting
- Pack your jars as tightly as possible. I find it easiest to lay the jars on their sides, then add the beans. Gravity helps them settle into position so that you can fit more in. Once you’ve got a jar full, stand it up, then get down to eye level with the rim of the jar. Check for any beans that are standing too tall and snap off a little bit so that they fit.
- If you’re water bath canning the pickles, adjust the cooking time for elevation by adding 5 minutes for every 3000 feet above sea level.
- If any of your jars don’t seal during the canning process, transfer them to the fridge, let them sit for a week, then use them up within 2 weeks.
- This recipe is suitable for gluten-free, dairy-free, and vegan diets.
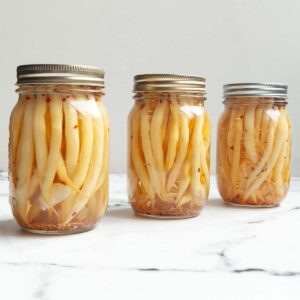
Pickled Yellow Beans

Equipment
- Water bath canner optional
Ingredients
- 2 pounds (908 g) yellow beans (wax beans) tips removed
- 3 cups white vinegar
- 3 cups water
- 3 tablespoons pickling or kosher salt
- 1 ½ tablespoons granulated sugar
- 4 garlic cloves
- 2 teaspoons mustard seed
- 2 teaspoons pepper flakes
- 2 teaspoons dill seed
Instructions
- Wash four pint sized jars and rings in hot soapy water. Sanitize the jars. If you are planning to water bath can the pickles, prepare your canner according to manufacturer's instructions.
- In a large saucepan over medium heat, combine the vinegar, water, salt, and sugar. Bring to a boil, then reduce heat to low to keep the brine hot.
- To each jar add 1 clove garlic, ½ teaspoon pepper flakes, ½ teaspoon mustard seed, and ½ teaspoon dill seed.
- Slide the beans into each jar so they are all facing in the same direction. Snap off the ends of any beans that are taller than the jar.
- Pour the brine over the beans, leaving ½-inch of headspace in each jar. Release any air bubbles inside the jar. Wipe the rims clean, top with lids, then screw the bands on until fingertip tight.
- Store in the fridge or process in a boiling water bath for 10 minutes, adjusting for elevation if necessary. Remove the jars from the water bath and let cool for 24 hours before moving. Let them sit for at least 1 week before enjoying.
Notes
- Pack your jars as tightly as possible. I find it easiest to lay the jars on their sides, then add the beans. Gravity helps them settle into position so that you can fit more in. Once you’ve got a jar full, stand it up, then get down to eye level with the rim of the jar. Check for any beans that are standing too tall and snap off a little bit so that they fit.
- If you’re water bath canning the pickles, adjust the cooking time for elevation by adding 5 minutes for every 3000 feet above sea level.
- If any of your jars don’t seal during the canning process, transfer them to the fridge, let them sit for a week, then use them up within 2 weeks.
- This recipe is suitable for gluten-free, dairy-free, and vegan diets.