How to Prepare Jars for Canning
This post may contain affiliate links. As an Amazon associate, I earn a commission from qualifying purchases.
In the home canning world, there’s nothing more disappointing than putting in the effort to preserve your favorite food, only to have it quickly spoil, thanks to an unsterilized jar. It’s very easy for glass jars to become contaminated in a kitchen environment, but it’s also simple to ensure that your jars are squeaky clean and safe for use. Preserve your food safely with these simple step-by-step instructions for preparing your glass jars for canning.

Step 1: Inspect the Jars
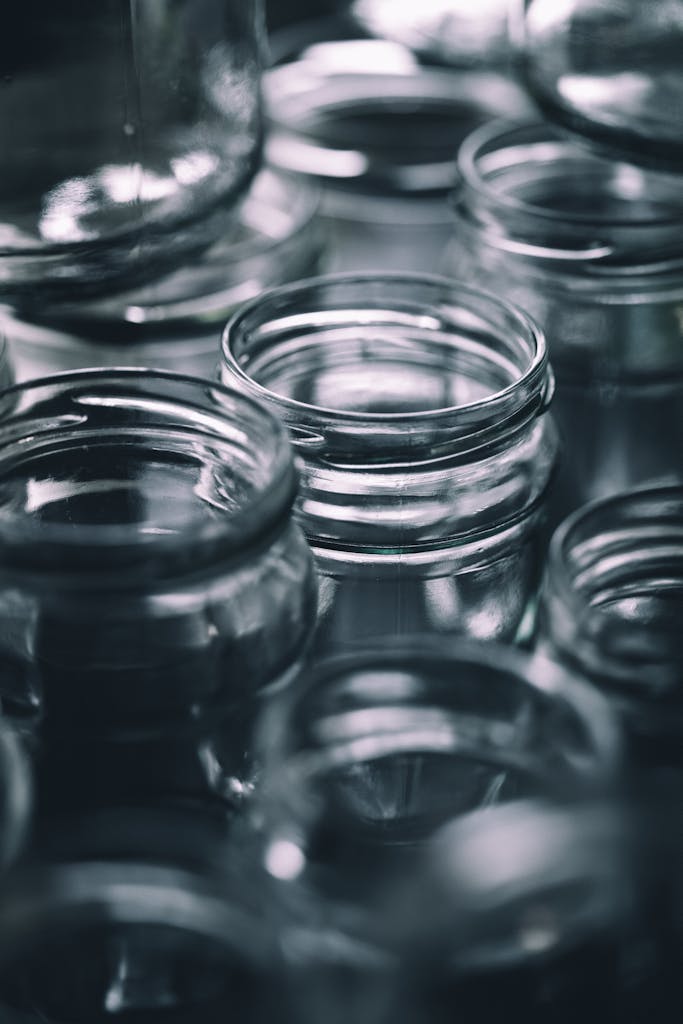
Start by gathering all the jars that you intend to use. This applies to brand new jars, too! Separate the rings from the jars. Inspect each jar, checking for chips and cracks. Do not use any jars that have chips, cracks, or defects! This is particularly important if you’ll be water bath or pressure canning your food. Even the smallest crack in a jar can cause it to break under the intense heat and pressure of canning.

Choosing your jars
Although it’s tempting to recycle that cute artisan jam jar from the store, it’s best to stick with jars specifically made for canning. When treated properly, they’ll stand up to the canning process for years and are a good investment. Jars that aren’t specifically made for home canning may break or not seal correctly.
Step 2: Prepare the Jars
Once you’ve inspected all the jars, fill your sink with hot, soapy water. This isn’t the time to do other messy dishes. You’re only washing jars and lids! Give each jar and ring a good scrub and rinse well with water. Make sure there are no stubborn bits of food left in any of the jars. Place them on a draining rack or clean towel and let them hang out there until you’re ready to sterilize.
At this point your jars are nice and clean. If you’re going to be pressure canning or water bath canning your food for more than 10 minutes, you can proceed with your recipe without pre-sterilizing. The heat of the canning process will kill any remaining bacteria. For anything less than 10 minutes, or if the food is simply going to be stored in the jars in the fridge, proceed to the sterilization step.
Step 3: Sterilizing the Jars
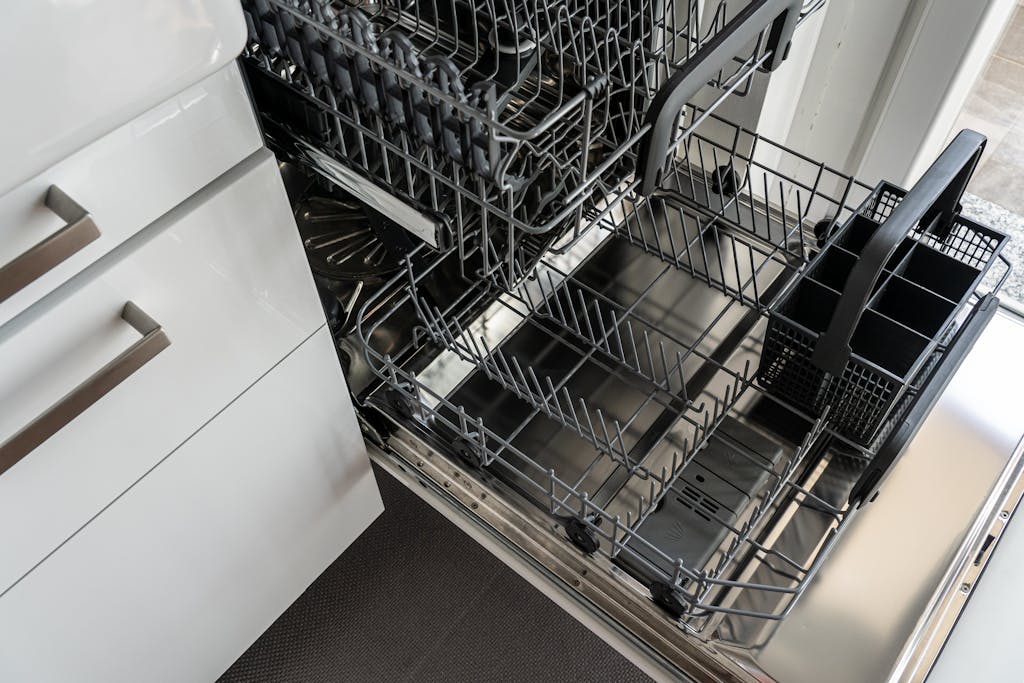
Your jars are nice and clean and ready to be sterilized. You’ve got a couple of options here. You can use a boiling water bath to sterilize, or you can run your jars through the sanitize cycle on your dishwasher. Note that you’re only sanitizing jars, not metal rings or lids.
I find that the boiling water method is faster than the dishwasher, but the dishwasher is ideal for sterilizing a lot of jars at once, and if I’m not going to be using a canner, then it makes more sense.
IMPORTANT: Once you begin sterilizing your jars, avoid touching the inside or rims of the jars, as it’s a quick way to introduce bacteria back into the jars. Use your canning tongs to grab the jars from the bottom part of the lip.
Method 1: Hot Water Bath
This is my go-to method if I’m going to be water bath canning. You’re going to need a canner full of hot water anyway, so why not take advantage of that and sterilize your jars at the same time?
To use this method, fill your canner with as much water as needed to cover the jars with an inch or two of water. To avoid breakage, I prefer to sterilize no more than 1 layer of jars at a time. Keep in mind that since your jars will be empty, they won’t be displacing any liquid (unlike when they’re full of food!) so be sure that you’ve got enough water in there to fully cover them.
Bring the water to a rolling boil, then carefully lower the jars into the water using canning tongs or a canning rack. Adjust the heat to maintain a gentle boil and let the jars sit in the boiling water for 10 minutes. After 10 minutes, use canning tongs (or the rack) to remove them. Set them right side up on a clean towel and fill them with food while they are still hot.
Method 2: Dishwasher
If you’ve got lots of jars to sterilize, or you’re not going to be using a canner, this is an easy way to prepare your jars. Simply arrange them on the upper rack of your dishwasher and run the sanitize cycle (without soap) on your dishwasher.
Once your sanitize cycle is complete, let the jars hang out in there to stay warm until you’re ready to add the food.
Canning Jar FAQs
Yes! Even if you’re making a small batch of preserves to stash in the refrigerator, you need to use clean, sterilized jars for storing the food. Refrigeration will slow spoilage, but even a small amount of contamination can quickly result in moldy food.
Just like with canning food, sterilizing jars requires an altitude adjustment. If sterilizing in a hot water bath, add 1 minute of boiling for every 1000 feet of altitude above sea level.
No. I don’t recommend this. Canning jars are not designed for the dry heat of the oven and can weaken when heated, making them more prone to breakage. Jars will also heat unevenly in the microwave and can explode if superheated.